
Reviewed · PHOTOGRAPHY SESSIONS
Hong Kong Photography Masterclass – Private Photography Lesson
Neon lights make the camera feel alive. In this private session, you walk from Kowloon street scenes toward harbour views and up to Victoria Peak, while a professional photographer helps you turn what you see into photos with real technique.
I like the hands-on focus on night skills like long exposure and light trails. I also like the calm, flexible pace, guided by Bharat, who adjusted the route so it never felt rushed or boxed in.
One key consideration: you’ll want a tripod for the best results, but it is not included, so you’ll need to rent or bring your own camera setup.
In This Review
- Key highlights you will actually use
- Where You Start at the Former Kowloon-Canton Railway Clock Tower
- Tsim Sha Tsui Promenade: Set Up for Harbour Light
- Nathan Road Neon Energy: Street-Level Framing with Purpose
- Temple Street Night Market: Details That Look Better After Dark
- Hong Kong Island and the Skyline Angle Change
- Graham Street Market: Texture, Small Signs, and Street Stories
- Hong Kong Skyline: Time for Cleaner Long-Exposure Thinking
- The Peak and Victoria Peak: Your Best “Final Frame” Moment
- The Night Photography Skills You Actually Practice
- Price and Value: Is $170 Worth a Private 3-Hour Lesson?
- What to Bring, and How to Get Better Results Fast
- Who This Tour Fits Best
- Should You Book This Hong Kong Night Photography Lesson?
- FAQ
- What is the duration of the Hong Kong Photography Masterclass?
- Where does the tour start?
- Where does the tour end?
- Is this a private tour?
- What is included in the price?
- What is not included?
- Is there tripod rental available?
- What places are visited during the tour?
- Does it focus on nighttime photography?
- What is the cancellation policy?
Key highlights you will actually use
- Private photography coaching with a professional photographer guide
- Night techniques taught in the field, including long exposure and high ISO shooting
- A practical route at night, from Tsim Sha Tsui promenades to night markets and up to Victoria Peak
- Guided flexibility so you can spend more time on the shots that click
- Tripod rent available, but you should plan for it early
Where You Start at the Former Kowloon-Canton Railway Clock Tower
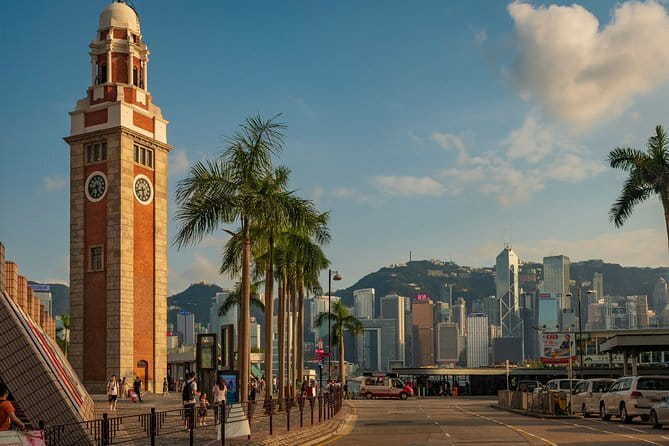
You meet at the Former Kowloon-Canton Railway Clock Tower, at 10 Salisbury Rd in Tsim Sha Tsui, and the tour ends back at that same spot. That matters because you are not jumping between far-flung meeting points, and it makes the whole evening feel tidy.
This clock tower area gives you a solid launch pad for night photography, with surrounding streets that mix older stone and newer city lighting. It is also a good place to get your camera ready, test exposure ideas, and get comfortable before you head into the busiest parts.
If you are the type who gets overwhelmed quickly, this start helps. You can ask basic questions early, then build on them as the light changes over the next few hours.
A few more Hong Kong SAR days worth comparing
- Victoria Harbour Yacht Night Cruise – DREAMER:Tourguide & Photos
★ 4.0 · 58 reviews - Photography Workshop and Photowalk (FIND YOUR DIRECTION)
★ 5.0 · 19 reviews - Beijing: Must-Try Chinese Ancient Costume Rental& Photoshoot
★ 4.9 · 26 reviews
Tsim Sha Tsui Promenade: Set Up for Harbour Light
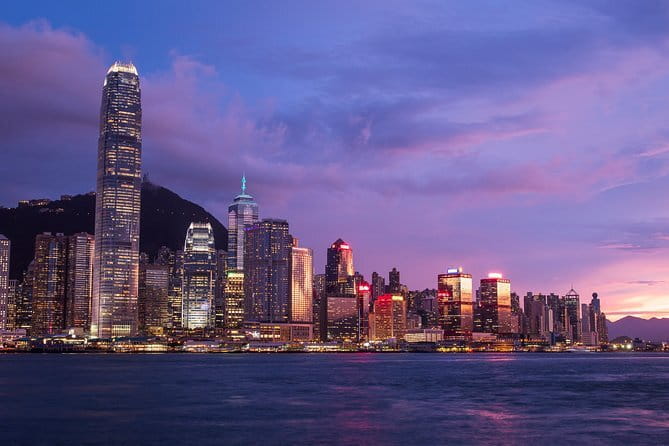
One of the best reasons to do a guided night photo walk is that you learn where the light comes from. The Tsim Sha Tsui Promenade gives you that lesson quickly, because you get strong harbour illumination and skyline backdrops all in one direction.
Think of this segment as your warm-up for longer exposures. You are likely to see enough moving light from traffic and boats to create interesting streaks, and a skyline at night gives you a clear subject to frame.
A drawback here is simple: it can be busy, and that changes what you can comfortably photograph. The fix is to work with the scene, use faster compositions for crowds, and save your longest, most deliberate shots for calmer moments.
Nathan Road Neon Energy: Street-Level Framing with Purpose
Nathan Road is where Hong Kong’s night mood hits you in the face. You get layers of signs, shop lighting, and reflections that can turn a basic street corner into a photo with depth.
This is also where your guide’s teaching style matters. A photographer who understands night shooting can help you stop guessing and start controlling the image, especially when signs are bright and your camera wants to overexpose.
Do not try to photograph everything at once. Pick one or two visual ideas, like a vertical shot that includes signage and pedestrians, or a wider frame that shows the street receding toward the skyline.
Temple Street Night Market: Details That Look Better After Dark
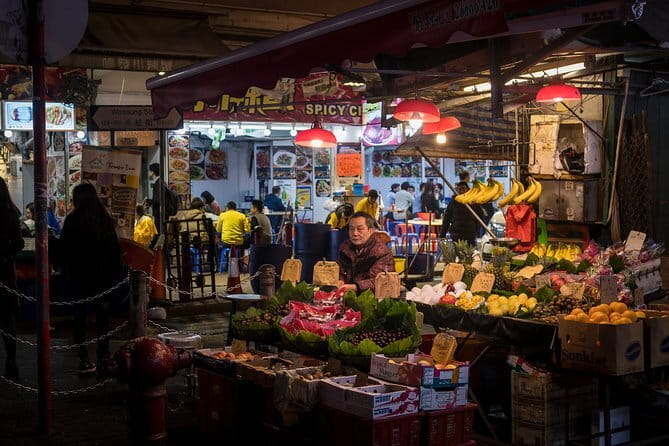
Temple Street Night Market is a gift for close-up and medium-distance shots. At night, the contrast gets higher, and tiny details like lighted storefronts and vivid signage can look more graphic on camera.
This is a good stop to practice how your camera handles mixed lighting. Night markets often combine warm and cool light, and that makes it a perfect place to learn how to keep your subject readable without flattening the scene.
Your potential challenge: market crowds and constant motion. You will get better photos by slowing down and working the same small area from a couple angles, rather than chasing a new scene every five minutes.
Same city, a very different kind of day:
- Lantau Island Day Trip – Big Buddha & Tai O
★ 4.5 · 1,328 reviews - Big Bus Hong Kong Open Top Hop-On Hop-Off Sightseeing Tour
★ 4.0 · 1,077 reviews - Hong Kong Day Tour: City Landmarks & Highlights
★ 4.5 · 798 reviews - Hong Kong International Airport Plaza Premium Lounge Access
★ 3.5 · 787 reviews
Hong Kong Island and the Skyline Angle Change
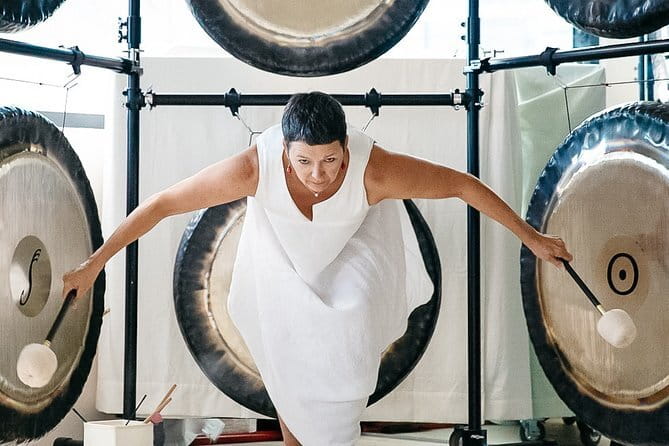
After the Kowloon street segments, the route shifts toward Hong Kong Island. Even if you have seen photos of the city before, changing sides of the harbour usually changes everything about your skyline shapes and light direction.
This part of the walk is valuable because it teaches you to see the city like a photographer, not like a tourist map. You start noticing the “why” behind composition, like where the brightest clusters of lights sit compared to your foreground.
If you are traveling with friends, this is also a good moment to coordinate. You can split for a minute, each person picks a framing idea, then regroup at a point your guide can see.
Graham Street Market: Texture, Small Signs, and Street Stories
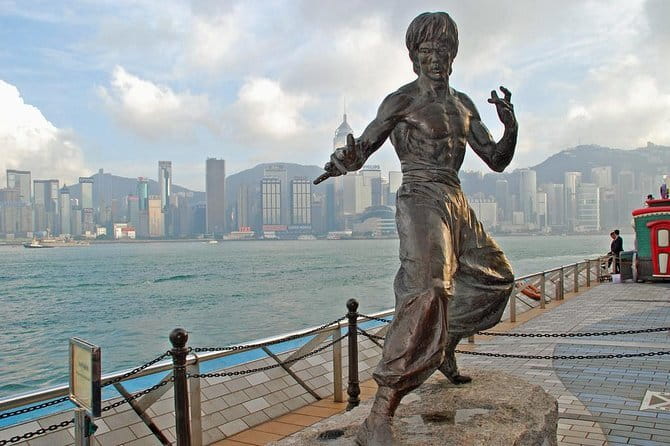
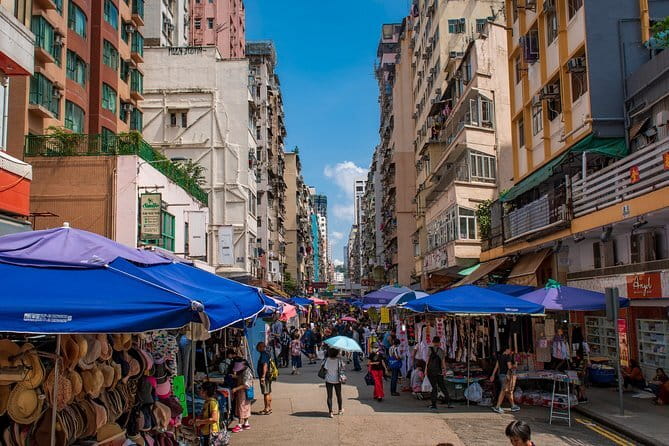
Graham Street Market brings you back to street-level detail. Markets like this are where night photography becomes less about big landmarks and more about people-scale scenes and textures.
I like this stop because it helps you practice a different kind of patience. Instead of waiting for the perfect skyline moment, you can work with small visual patterns, like repeating signs and the glow created by overhead lighting.
You might find it tempting to use your widest lens or phone default framing. Resist that and try a tighter crop approach, so your camera gives you cleaner subject separation in the dark.
Hong Kong Skyline: Time for Cleaner Long-Exposure Thinking
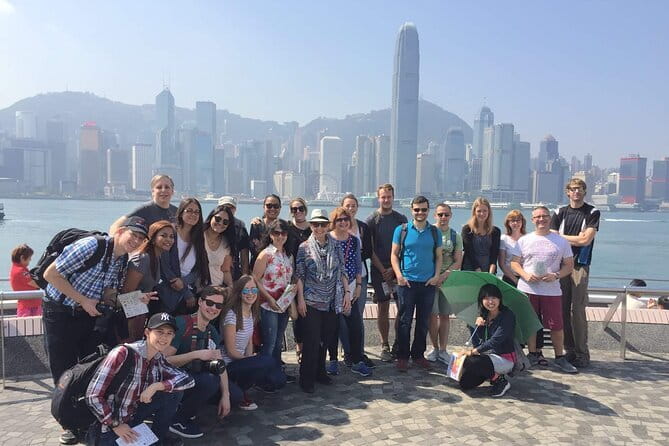
Before you head up to the Peak, you get another skyline opportunity. That is a smart rhythm, because you can use the earlier harbour light to tune your settings, then apply what worked again with fewer surprises.
This segment is a strong place for learning long exposure. Long exposures can simplify a scene, turn moving elements into streaks, and make the skyline look crisp and intentional rather than chaotic.
The practical drawback is that longer exposures usually mean you need support. If you do not have a tripod, you will fight camera shake, especially when you are holding position for multiple shots.
The Peak and Victoria Peak: Your Best “Final Frame” Moment
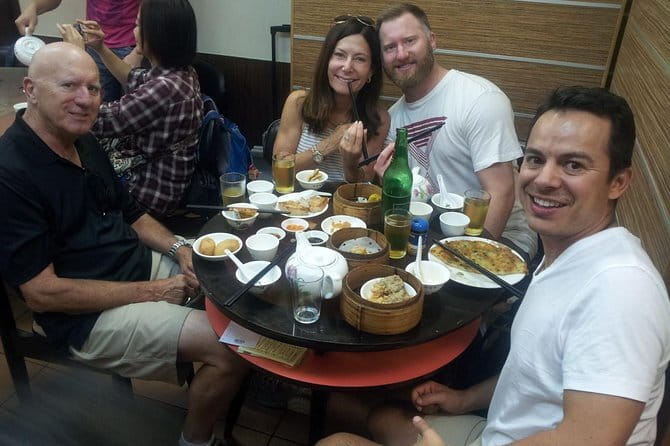
The tour heads to the Peak area, then to Victoria Peak (The Peak). The whole point of climbing up at night is that you get a different kind of overview, with the harbour and city lighting spreading out in front of you.
This is where your night skills get tested in the best way. High ISO shooting can help when the light is uneven, while long exposure can help you create a cleaner, more graphic city view.
One thing I’d plan for is time and energy. Three hours is not long, and the Peak portion can feel like the emotional finale of the walk. Keep your bag light, and be ready to shoot quickly once you arrive, because night viewpoints can change fast with conditions and crowds.
The Night Photography Skills You Actually Practice
The description promises instruction in long exposure, light trails, light painting, and high ISO shooting, and those themes show up naturally on a route like this. You are not just taking pictures, you are learning how to control the camera in low light.
Long exposure is the backbone here. It is what helps turn nighttime into something more than a blurry snapshot, especially for skyline scenes and moving traffic.
Light trails fit right into that. You get the chance to watch how moving lights can draw lines through your frame, which is often the difference between a decent city photo and a memorable one.
Light painting is another technique that plays well with city lighting. Even if you are not creating dramatic effects, you can still learn how to use controlled light and longer shutter times to make specific elements stand out.
High ISO shooting matters because nighttime forces you to choose between brightness and noise. Your photographer’s guidance should help you understand how to balance exposure so you do not end up with a photo that is too dark to be useful, or too bright and blown out to see detail.
Price and Value: Is $170 Worth a Private 3-Hour Lesson?
At $170 per person for about three hours, this is not a budget “walk and take photos” situation. It is a paid coaching experience, and the value comes from having a professional photographer guide working at your pace.
The private format is the biggest reason it can be worth it. You are not waiting for group instructions while everyone else shoots their own ideas, and you are more likely to get specific feedback based on what your camera does in the moment.
You should also factor in what is not included. Your camera is not provided, and a tripod is not included either, though tripod rental is available. If you already have a camera and tripod, your out-of-pocket cost stays close to the tour price. If you do not, you should budget for rental so the long exposure part does not become stressful.
There are group discounts too. If you can recruit one or two people who are serious about photography, splitting the investment can feel much easier than going solo.
What to Bring, and How to Get Better Results Fast
You’ll want to bring your camera, because it is not included. You’ll also want a tripod, or you will need to rent one, since long exposure and light trails are hard to nail without support.
Wear shoes that handle night walking, because this is a city route with multiple stops. Keep your hands free, and avoid bags that swing around when you are setting up shots.
If you are using a smartphone camera, treat this as a learning moment anyway, even if your control options are different. The route and lighting are the real teachers, and you can still learn compositional habits that translate to any device.
Also, think about your goal before you meet. If you want skyline shots, prioritize tripod time and long exposure practice. If you want street scenes, prioritize quick compositions and clean framing rather than waiting forever.
Who This Tour Fits Best
This tour is best for people who want better results, not just more photos. If you have a camera and you want to understand why your nighttime images look the way they do, this kind of guided practice is ideal.
It also fits you if you like a structured route but still want flexibility. Based on the experience feedback, Bharat’s flexibility is a real perk, since you can spend time where the light is working instead of feeling pushed through a rigid checklist.
You might want to skip it if you are only looking for a casual evening stroll with landmark photos and zero interest in technique. This is built around specific night photography skills, and you’ll get more value if you come ready to learn.
Should You Book This Hong Kong Night Photography Lesson?
Book it if you want a focused, teacher-led night photography experience in Hong Kong. The private coaching, plus the route that combines promenades, night markets, and Victoria Peak viewpoints, is a smart way to get multiple lighting styles in one evening.
Also book it if you like the idea of learning from real conditions. Night photography is all about choices, and this tour is designed to help you make those choices confidently instead of guessing.
Just plan for the basics first: bring a camera, and make sure you have access to a tripod. If you do that, the $170 price starts to make sense as coaching time plus prime nighttime locations in one compact 3-hour session.
FAQ
What is the duration of the Hong Kong Photography Masterclass?
The session lasts about 3 hours.
Where does the tour start?
The meeting point is the Former Kowloon-Canton Railway Clock Tower, 10 Salisbury Rd, Tsim Sha Tsui, Hong Kong.
Where does the tour end?
It ends back at the same meeting point.
Is this a private tour?
Yes. It is private, and only your group will participate.
What is included in the price?
You get a local guide and a professional photographer guide.
What is not included?
A camera and a tripod are not included.
Is there tripod rental available?
Yes, a tripod is available to rent.
What places are visited during the tour?
You will visit areas including Tsim Sha Tsui Promenade, Nathan Road, Temple Street Night Market, Hong Kong Island, Graham Street Market, the Hong Kong skyline, the Peak, and Victoria Peak (The Peak).
Does it focus on nighttime photography?
Yes. The tour includes nighttime photography guidance such as long exposure, light trails, light painting, and high ISO shooting.
What is the cancellation policy?
Free cancellation is available up to 24 hours in advance for a full refund.
Recently added around Hong Kong SAR
- Tai Mo Shan Waterfall Adventure Hike★ 5.0 · 16 reviews
- Small-Group Tour: Temples & Markets Discovering [PROMOTION]★ 5.0 · 6 reviews
- Small-Group Tour: The best bites of Hong Kong Island★ 5.0 · 3 reviews
- Small-Group Tour: Hidden Gems of Old Hong Kong island★ 4.5 · 3 reviews
- Hong Kong Pub Crawl at Lan Kwai Fong (LKF)★ 4.5 · 40 reviews
- Small Group Hiking Day Tour to Lamma Island Hong Kong★ 5.0 · 3 reviews
- Private tour of Hong Kong – First timers★ 5.0 · 10 reviews
- Private tour of Hong Kong – customized layover – 5 hours★ 5.0 · 8 reviews
Photography Sessions, compared.
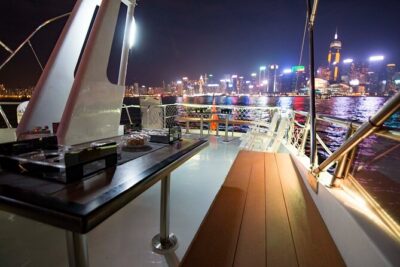
Victoria Harbour Yacht Night Cruise – DREAMER:Tourguide & Photos
Read our review →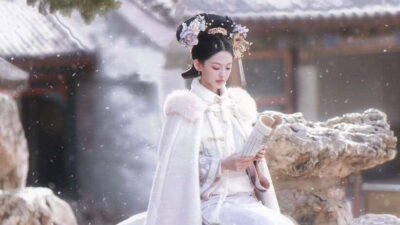
Must-Try Chinese Ancient Costume Rental& Photoshoot
Read our review →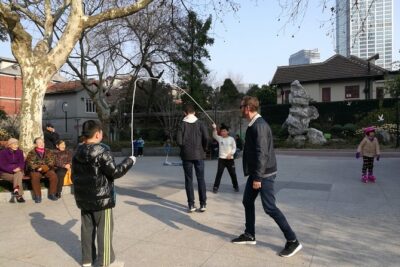
4-Hour Private Flexible Photography Tour of Best Shanghai Scenes
Read our review →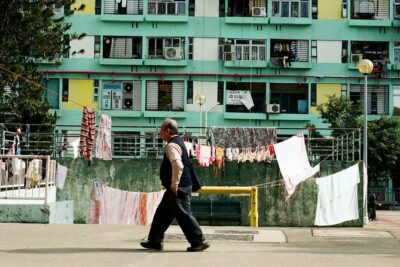
Photography Workshop and Photowalk (FIND YOUR DIRECTION)
Read our review →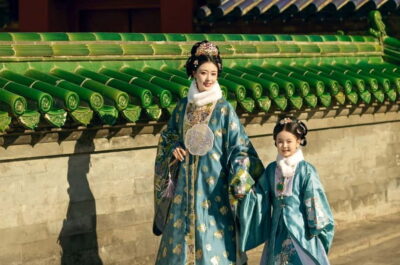
Beijing Traditional Hanfu Experience & Photoshoot for Groups
Read our review →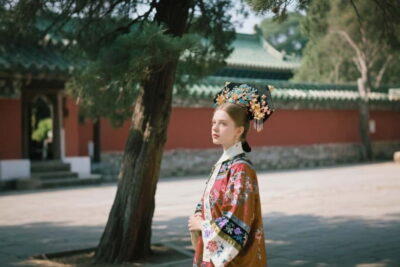
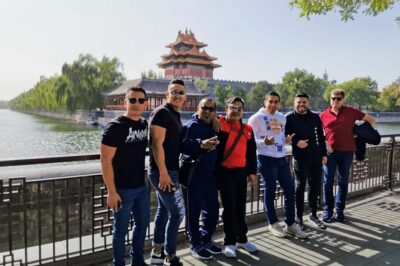
Exclusive Private Photography & Video Tour to The Forbidden City
Read our review →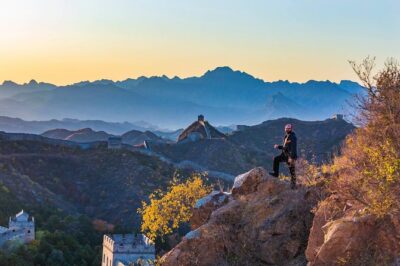
Browse the lists this tour appears in